
In order to run campaigns on your website, you need to add the Exit Bee tracking code. You only need to do this once for each of your websites.
Where is my tracking code?
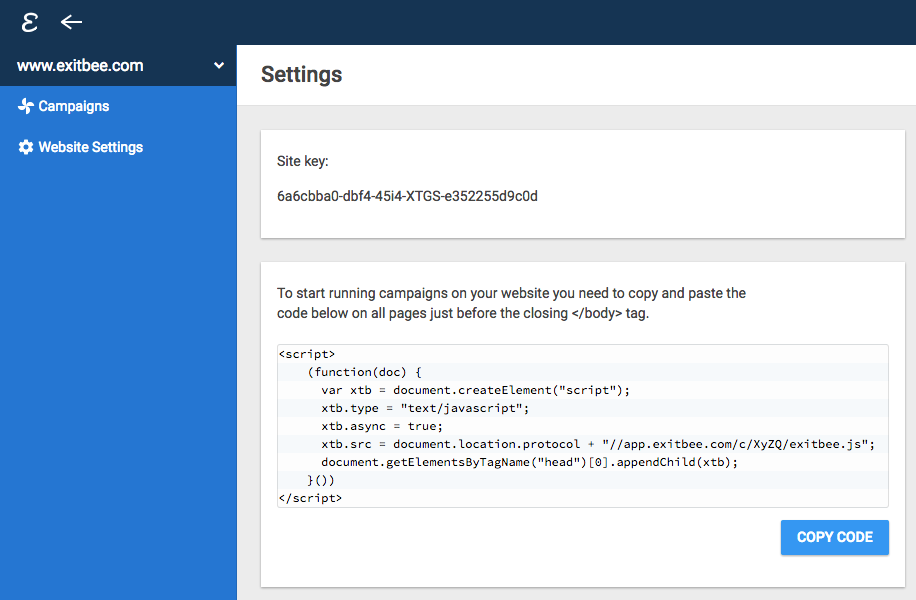
1. At the Website Settings page
Open the side navigation, click on "Website Settings" and just copy the code.
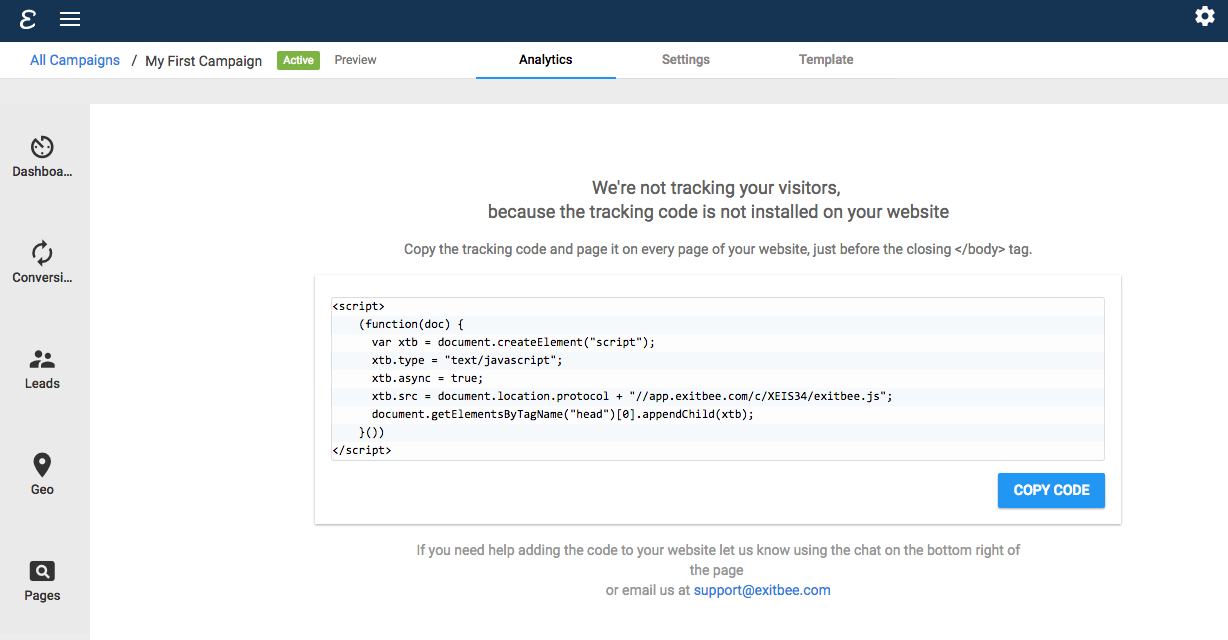
2. By clicking on an active campaign
If you have already created a campaign, the campaigns page looks like this:

Click on the campaign name and you'll get the code that you need to add on your website.
How to add the tracking code?
In Prestashop, there are two ways of installing the Exit Bee tracking code.
1) Use a Module to Insert the Code
You can insert the tracking code on your preferred pages by using a module such as ContentBox, which allows you to insert custom HTML/JavaScript on your site.
Simply install the module and add the tracking code (in source code mode). Hook the module to the block you prefer. If you want to record the entire page, you should insert the tracking code in a block that is shown on every page, such as 'displayFooter'.
2) Insert the Tracking Code in a Template
You can also insert the tracking code directly inside a Prestashop template (.tpl file) by putting the JavaScript inside the {literal}{/literal} tags. For example:
{literal}
<script>
    (function(doc) {
      var xtb = document.createElement("script");
      xtb.type = "text/javascript";
      xtb.async = true;
      xtb.src = document.location.protocol + "//app.exitbee.com/c/YOUR-CUSTOM-ID/exitbee.js";
      document.getElementsByTagName("head")[0].appendChild(xtb);
    }())
</script>
{/literal}
To track all of the pages on your website, you should add the tracking code to a template file that is called on every page such as "footer.tpl"
Need help adding the code?
No worries, we're here to help. Email us at support@exitbee.com and one of our engineers will guide you through. It will only take a couple of minutes.